
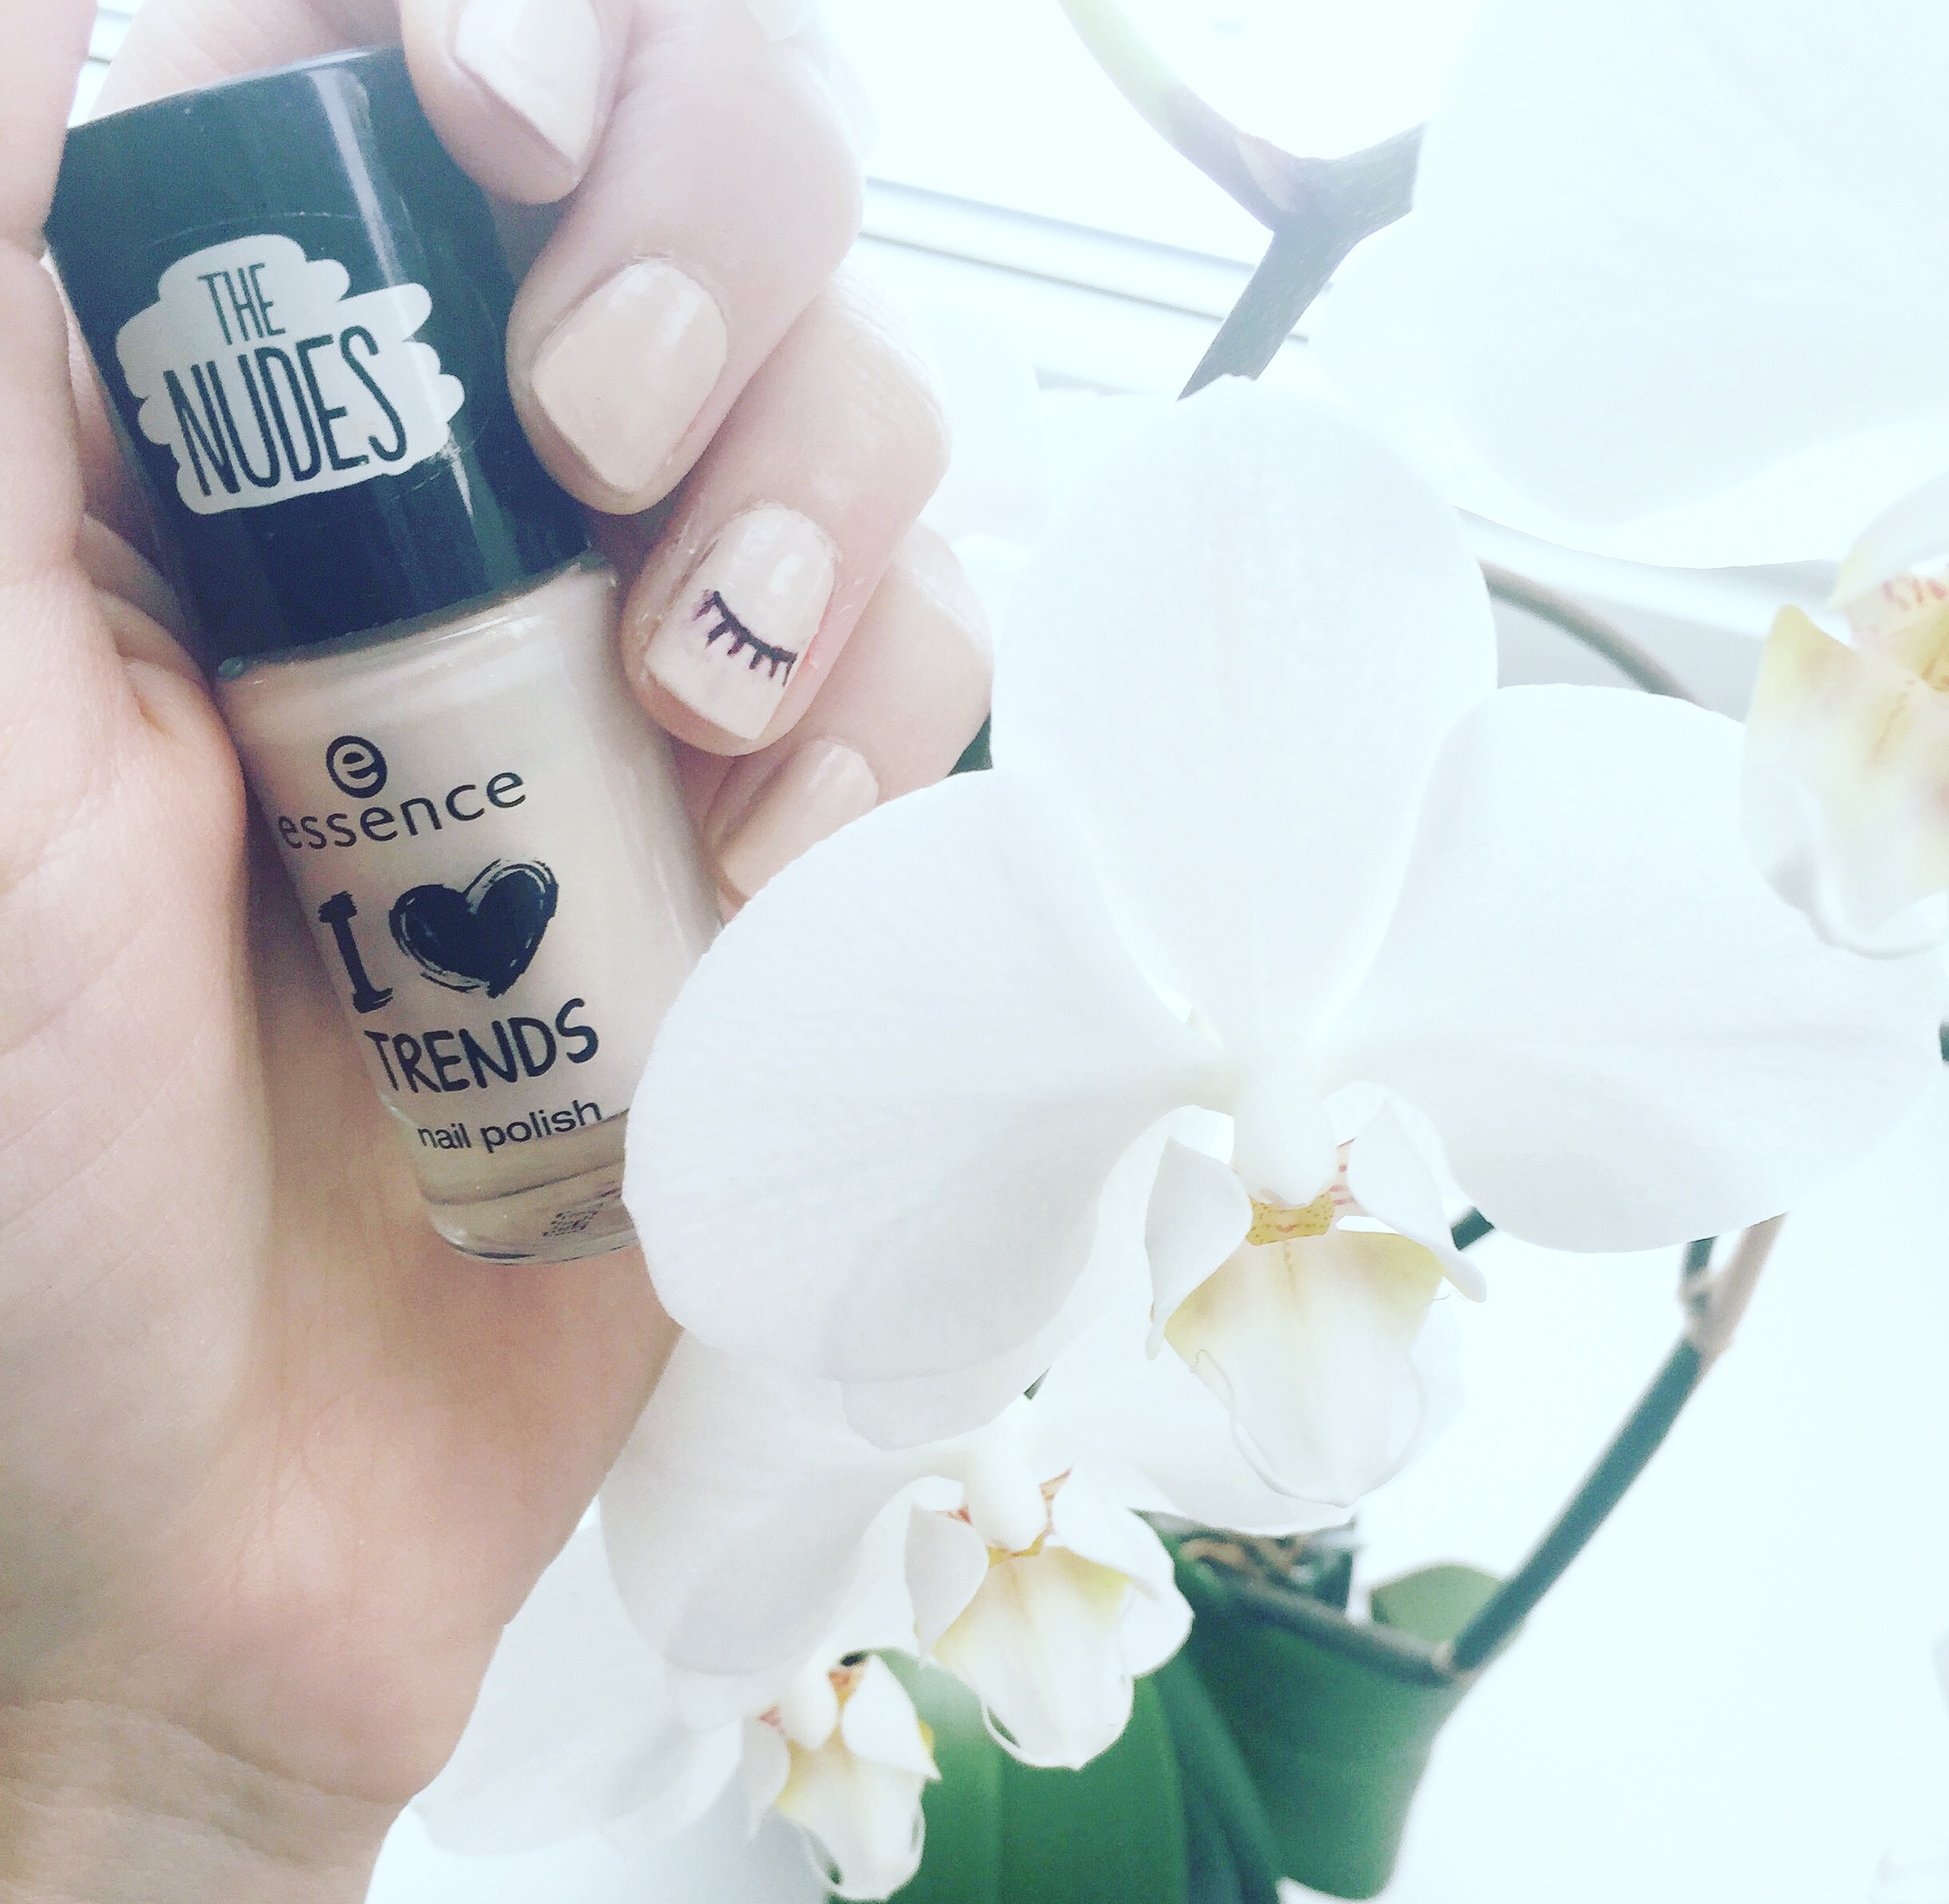
I’ve been seeing a lot of pictures and videos lately of Sharpie nail designs, so, I decided to put it to the test!
After a few failed attempts and a little research I was really happy with how they turned out!
How to:
Start off with whatever base coat you’d like. I went for a nude shade (Essence- available at Shoppers Drug Mart) so the black eyelashes would really pop!
Let your base coat(s) fully dry before attempting to draw with your Sharpie.
Draw your design, let it dry. If you make a mistake you can typically correct it with a bit of nail polish remover if caught early enough. If that doesn’t work, you may have to start fresh.
Before putting on the clear top coat, use a gentle mist of hair spray over your nail design (be careful not to spray too much as it will make the marker run as well!) Allow this to dry. TIP: if you skip this step your design will run the second you try putting on your top coat, or eventually rub off if you opt out of the top coat altogether. It’s an extremely important step for this to work–trust me, I learned the hard way!
You can now paint over the clear top coat!
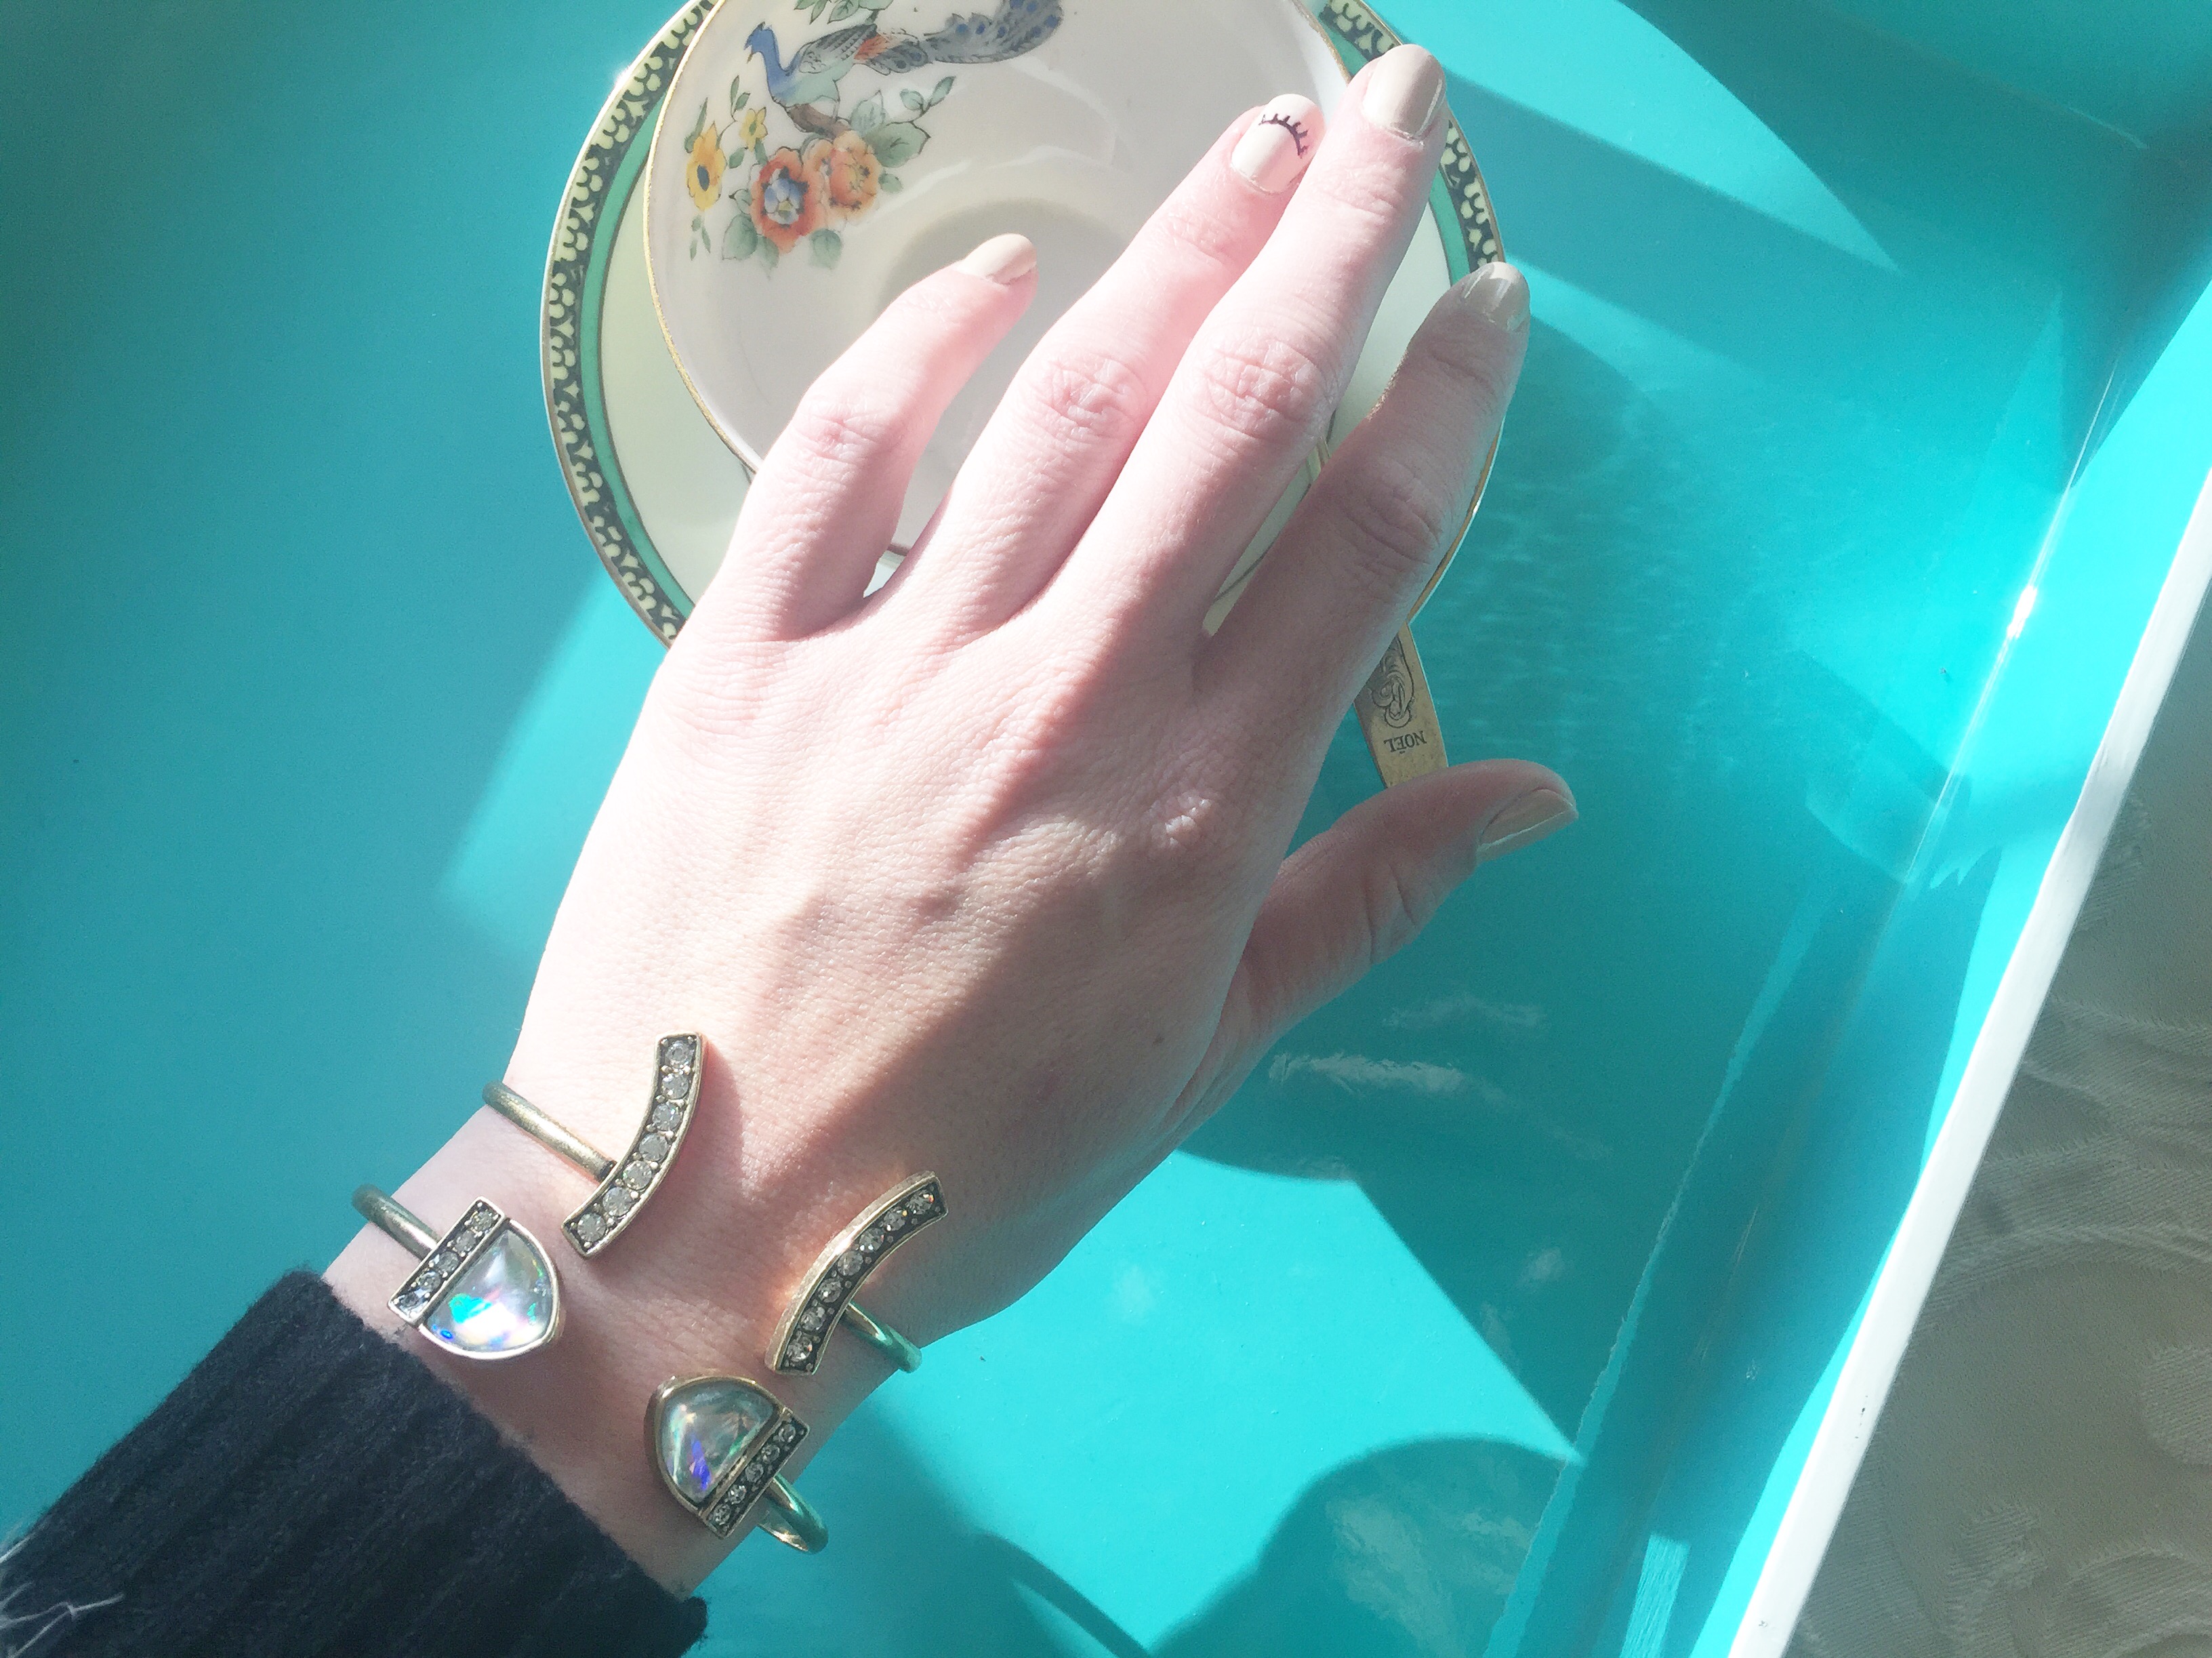
And…voila!
Thanks for stopping by!
xoxo Staffordable
Very lovely idea.. Oh and I’m crushing on the bangles 😍
Thanks so much!
You’re very welcome x