Trip to the art gallery & OOTD!

Trip to the art gallery & OOTD!

The FULL SPECTRUM exhibit is currently on display at the Living Arts Centre in Mississauga  until February 28th. It’s a great activity to add a little local culture to your life! The best part is…it’s FREE!

I first came across this exhibit while reading the local newspaper and the beautiful bright and abstract paintings instantly captured my attention. I thought of how great of an afternoon trip it would be to check it out!

I was pleasantly surprised with the array artwork and definitely recommend going!

A few pictures from my visit

IMG_5363

IMG_5365

IMG_5362

IMG_5431

^ This was my absolute favourite painting, this is the one that caught my attention right away!

IMG_5492

^ Now this… the picture does not even do this work of art justice! It was so magnificent in person and I just loved the painting on the back wall to tie it all together!  Truly stunning!

IMG_5433

^ Such a beautiful wall, I couldn’t resist taking a picture by it!

Details of the Exhibit: 

“Full Spectrum highlights a collection of bold and energetic new works in contemporary painting. Through a kaleidoscope of colour and visceral techniques this eclectic group of emerging artists transform the exhibition space into a visual wonderland inundated with exquisite vibrancy. Identifiable as risk takers, artists featured break rules, and in doing so break new ground in painting through a range of subject matter from portraiture to landscape, geometric to the abstract, revealing leading trends in practice.

Artists include: Tyler Armstrong, Julie Gladstone, Erin Loree, Christina Mazzulla, Kyle Tonkens “

– See more at: http://www.livingartscentre.ca/gallery/full-spectrum#sthash.WcsQaLZq.dpuf

Outfit Details:

Because I checked out a totally cool exhibit, my outfit had to be equally as interesting (of course!)

IMG_5461

IMG_5452

IMG_5449

IMG_5447

I had WAY to much fun posing for pictures in this outfit! When I first saw this fringe sweater on Forever 21.com I wasn’t sure I could pull it off but once I opened it my mind quickly changed. It was final sale so I went out on a limb and bought it and I can say I’m glad I did!  It also vest style as well a grey colour in the sweater and still available online (I’m so tempted to now pick up this one too!) << I’ve provided a direct link above to this sweater on the Canadian website for ease of searching! 🙂

I paired it with a plain white v-neck tee (Urban Planet), ripped black jeans (Blue Notes), layered choker necklace (Spring Shoes), and studded leather ankle booties (Aldo.)

Thanks for stopping by!

XOXO

Staffordable 
DIY Sharpie Mugs & Catch-All Dishes

DIY Sharpie Mugs & Catch-All Dishes

When I say images of all these beautiful DIY mugs and dishes on Pinterest I just had to put it to the test myself! I love that you can get as creative and personal as you want with these. Oh and did I mention, I made each of these for under $5.00 each!

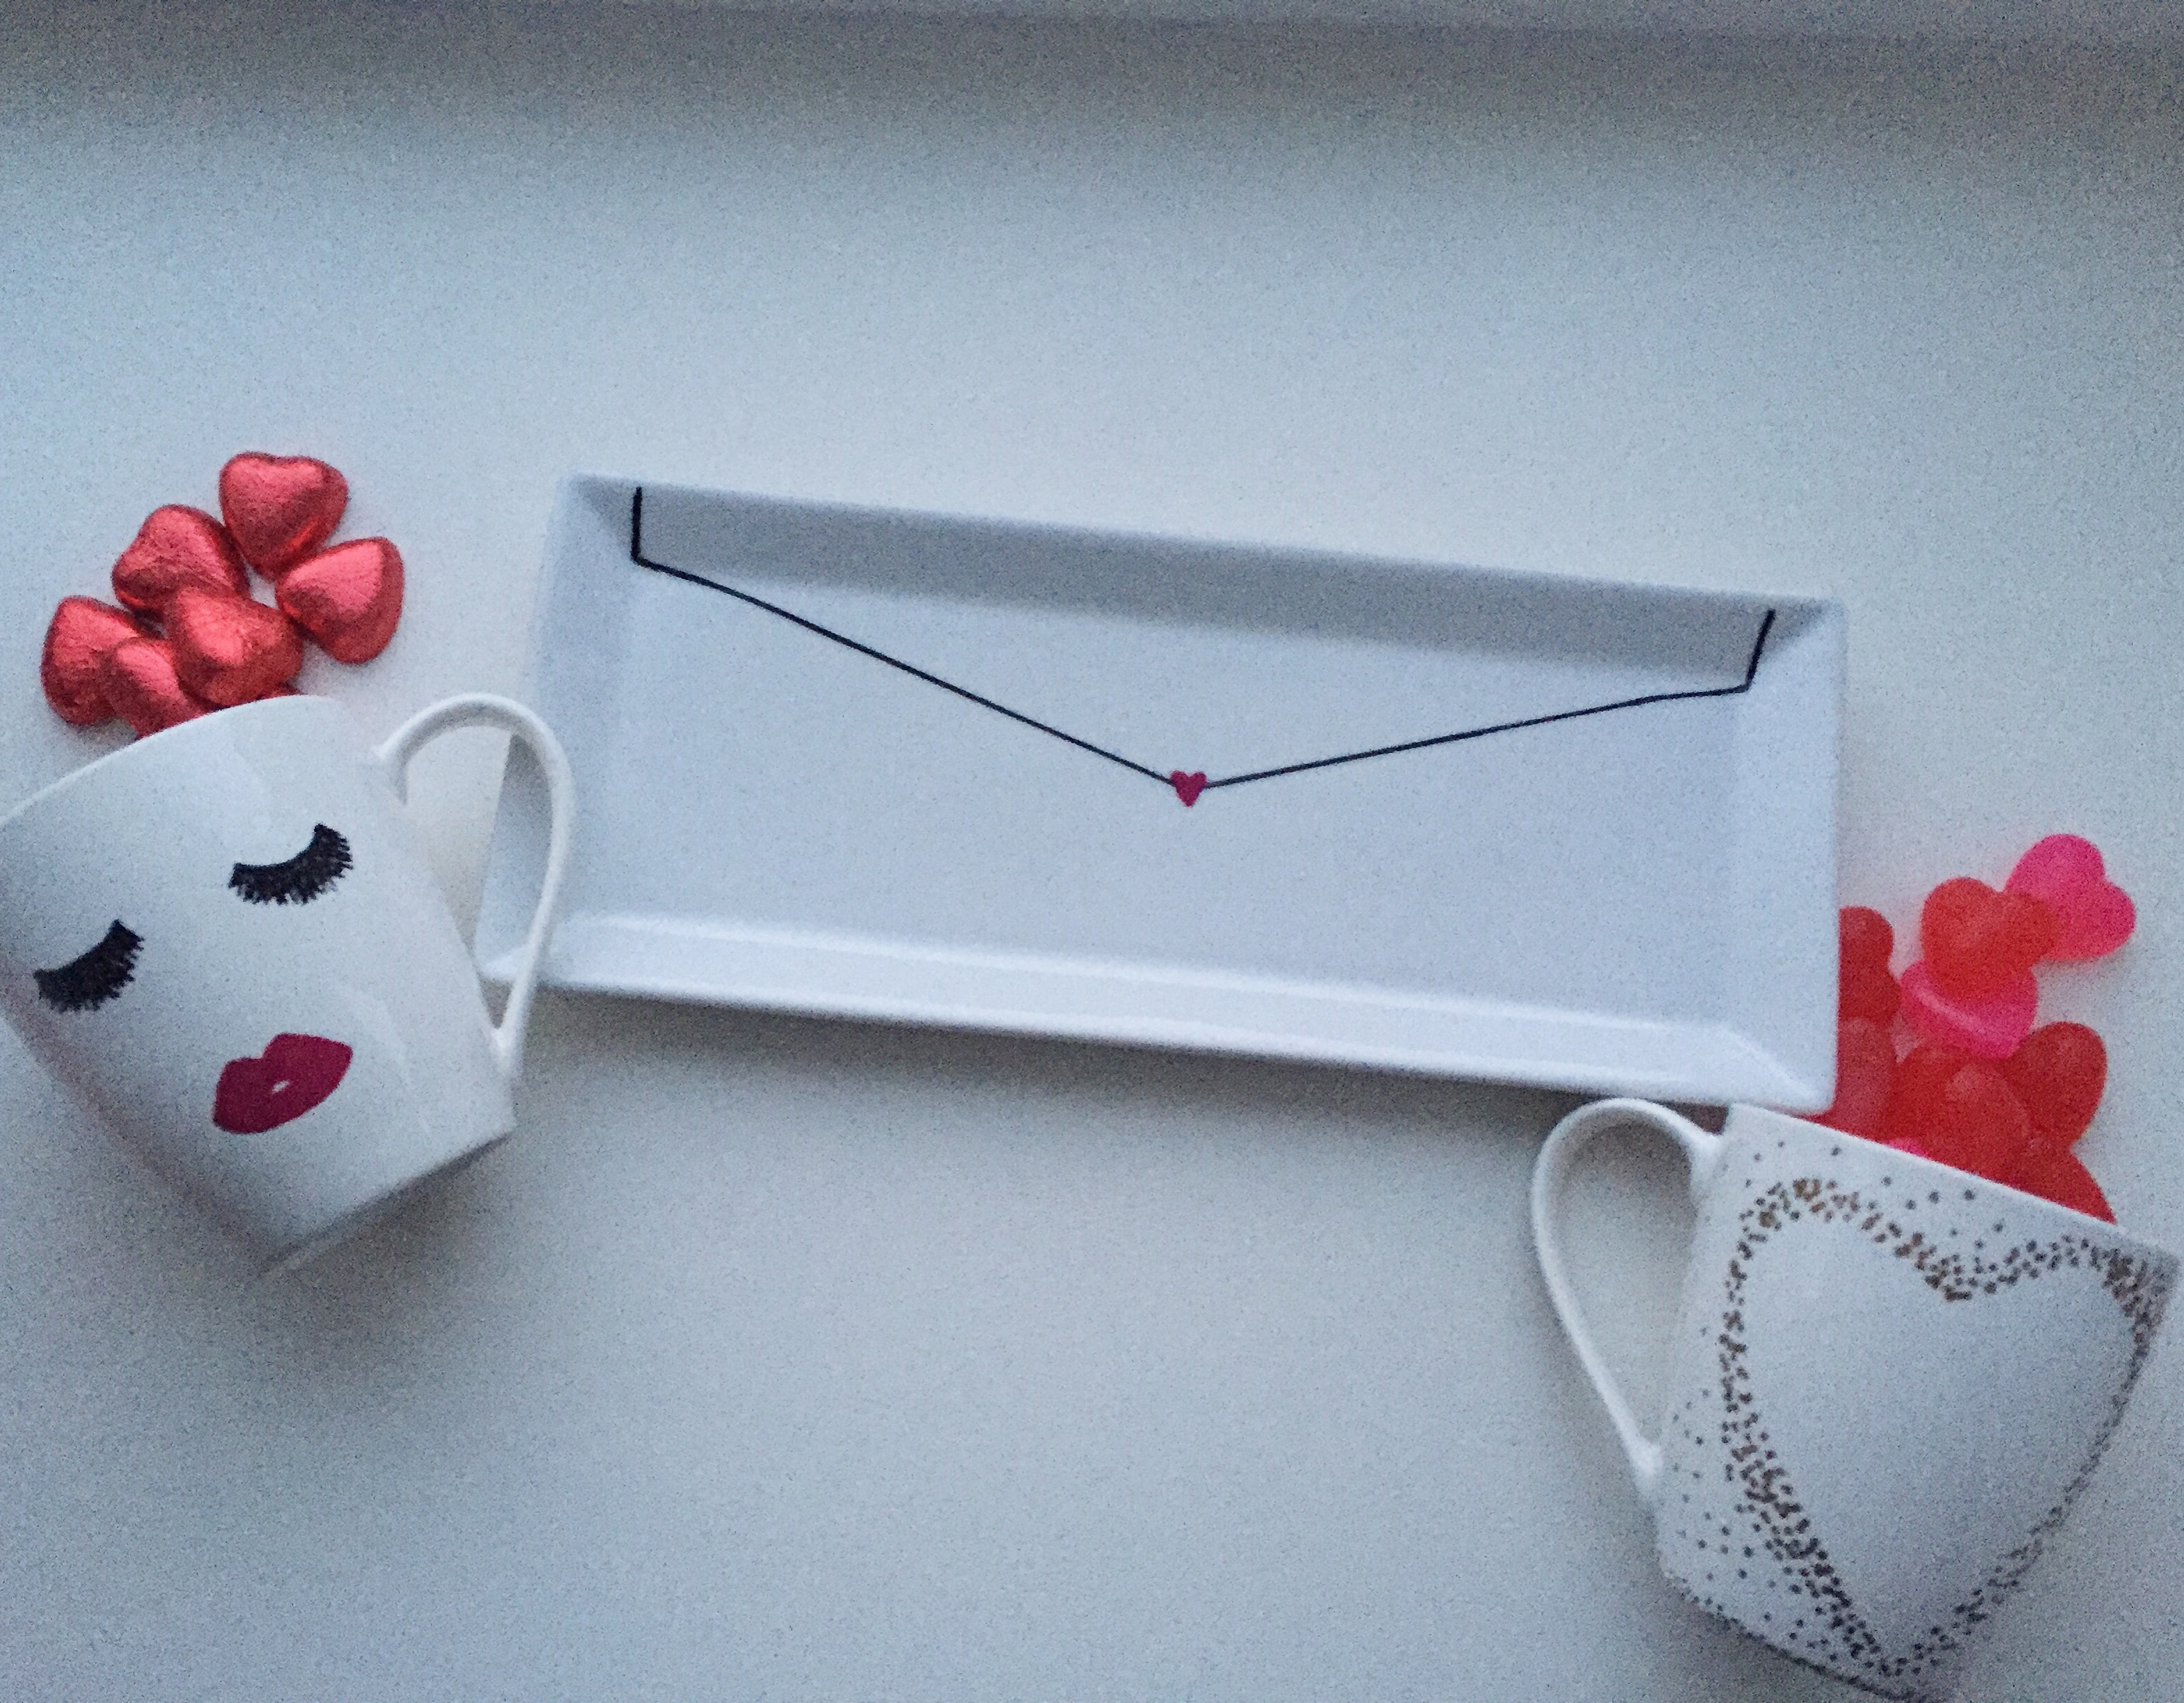
I decided to recreate a few mugs and a catch-all dish that I had seen online using oil-based Sharpies.

IMG_6336

The designs I opted for just so happened to tie in perfectly with it being Valentine’s Day!

What you will need: 

I wanted to draw my designs on bright white mugs and dishes so I went searching for just that. I found both the mug and tray for under $3.00 each at Dollarama!

BE SURE to by oil-based Sharpies otherwise your design will wash off in water. These are a little more expensive than your regular Sharpie but I bought mine from Michaels with a 40% off coupon so they came to around $3.00 each! The good thing about these is that one marker will last you through quite a lot of designs so paying that amount upfront isn’t so bad in the long run!

Steps:

  1. Allow your designs to dry overnight. This will ensure that your paint is completely dry!
  2. Stick them in a cold oven (this step is really important!) Let them heat up with the oven that you will put at 300 degrees.
  3. Bake for 20 minutes
  4. Remove your mugs/trays and allow to cool for 20 minutes (turning off the oven at this point)
  5. Once they are cooled entirely, place them back in the oven and repeat step 2 and 3.
  6. After 20 minutes turn off the oven and allow them to cool in there entirely.
  • You can spray your designs with a sealant when you’re done if you’d like, I opted out of this and they have been just fine. I hand wash my items only with soap and water.

Tip: Place your mugs or trays on a cookie sheet so that you don’t actually touch the paint and ruin it (I did this the first time, woops!) Once it starts to heat up it will be susceptible to smudging.

IMG_5229

For the gold heart-shaped mug: 

  • First, you will want to make a heart stencil out of paper that matches the size of your mug.

IMG_5230IMG_5232

  • Next, you can start tracing the gold dots around your stencil. The dots are denser closer to the stencil and began spreading them out more the further away I got.


IMG_5234 (1)

  • Next, remove your stencil and begin to cover the handle in gold dots. I was pretty sporadic with how I did these.

FullSizeRender (25)

IMG_6330

  • On the other side of the mug I used another heart stencil and once again traced gold dots around it, having them more dense closer to the heart and further apart the more you move away. I wish I had made my heart stencil a little smaller only because it took up most of the mug (not a big deal, just something to keep in mind for next time!)
  • If you do happen to make a mistake you can simply take some water and mild soap and erase what you would like to correct. This is easier to do while the marker is still wet so catch it early if you can! For my mug and catch-all dish this came in handy, I think I re-did these ones each three times before I got it exactly how I wanted it!

IMG_5587

FullSizeRender (27)

Here’s the finished product! I absolutely LOVE how this turned out. I really like the gold dot design, it just screams Kate Spade to me!

Eyelash & Lips Mug:

IMG_6331

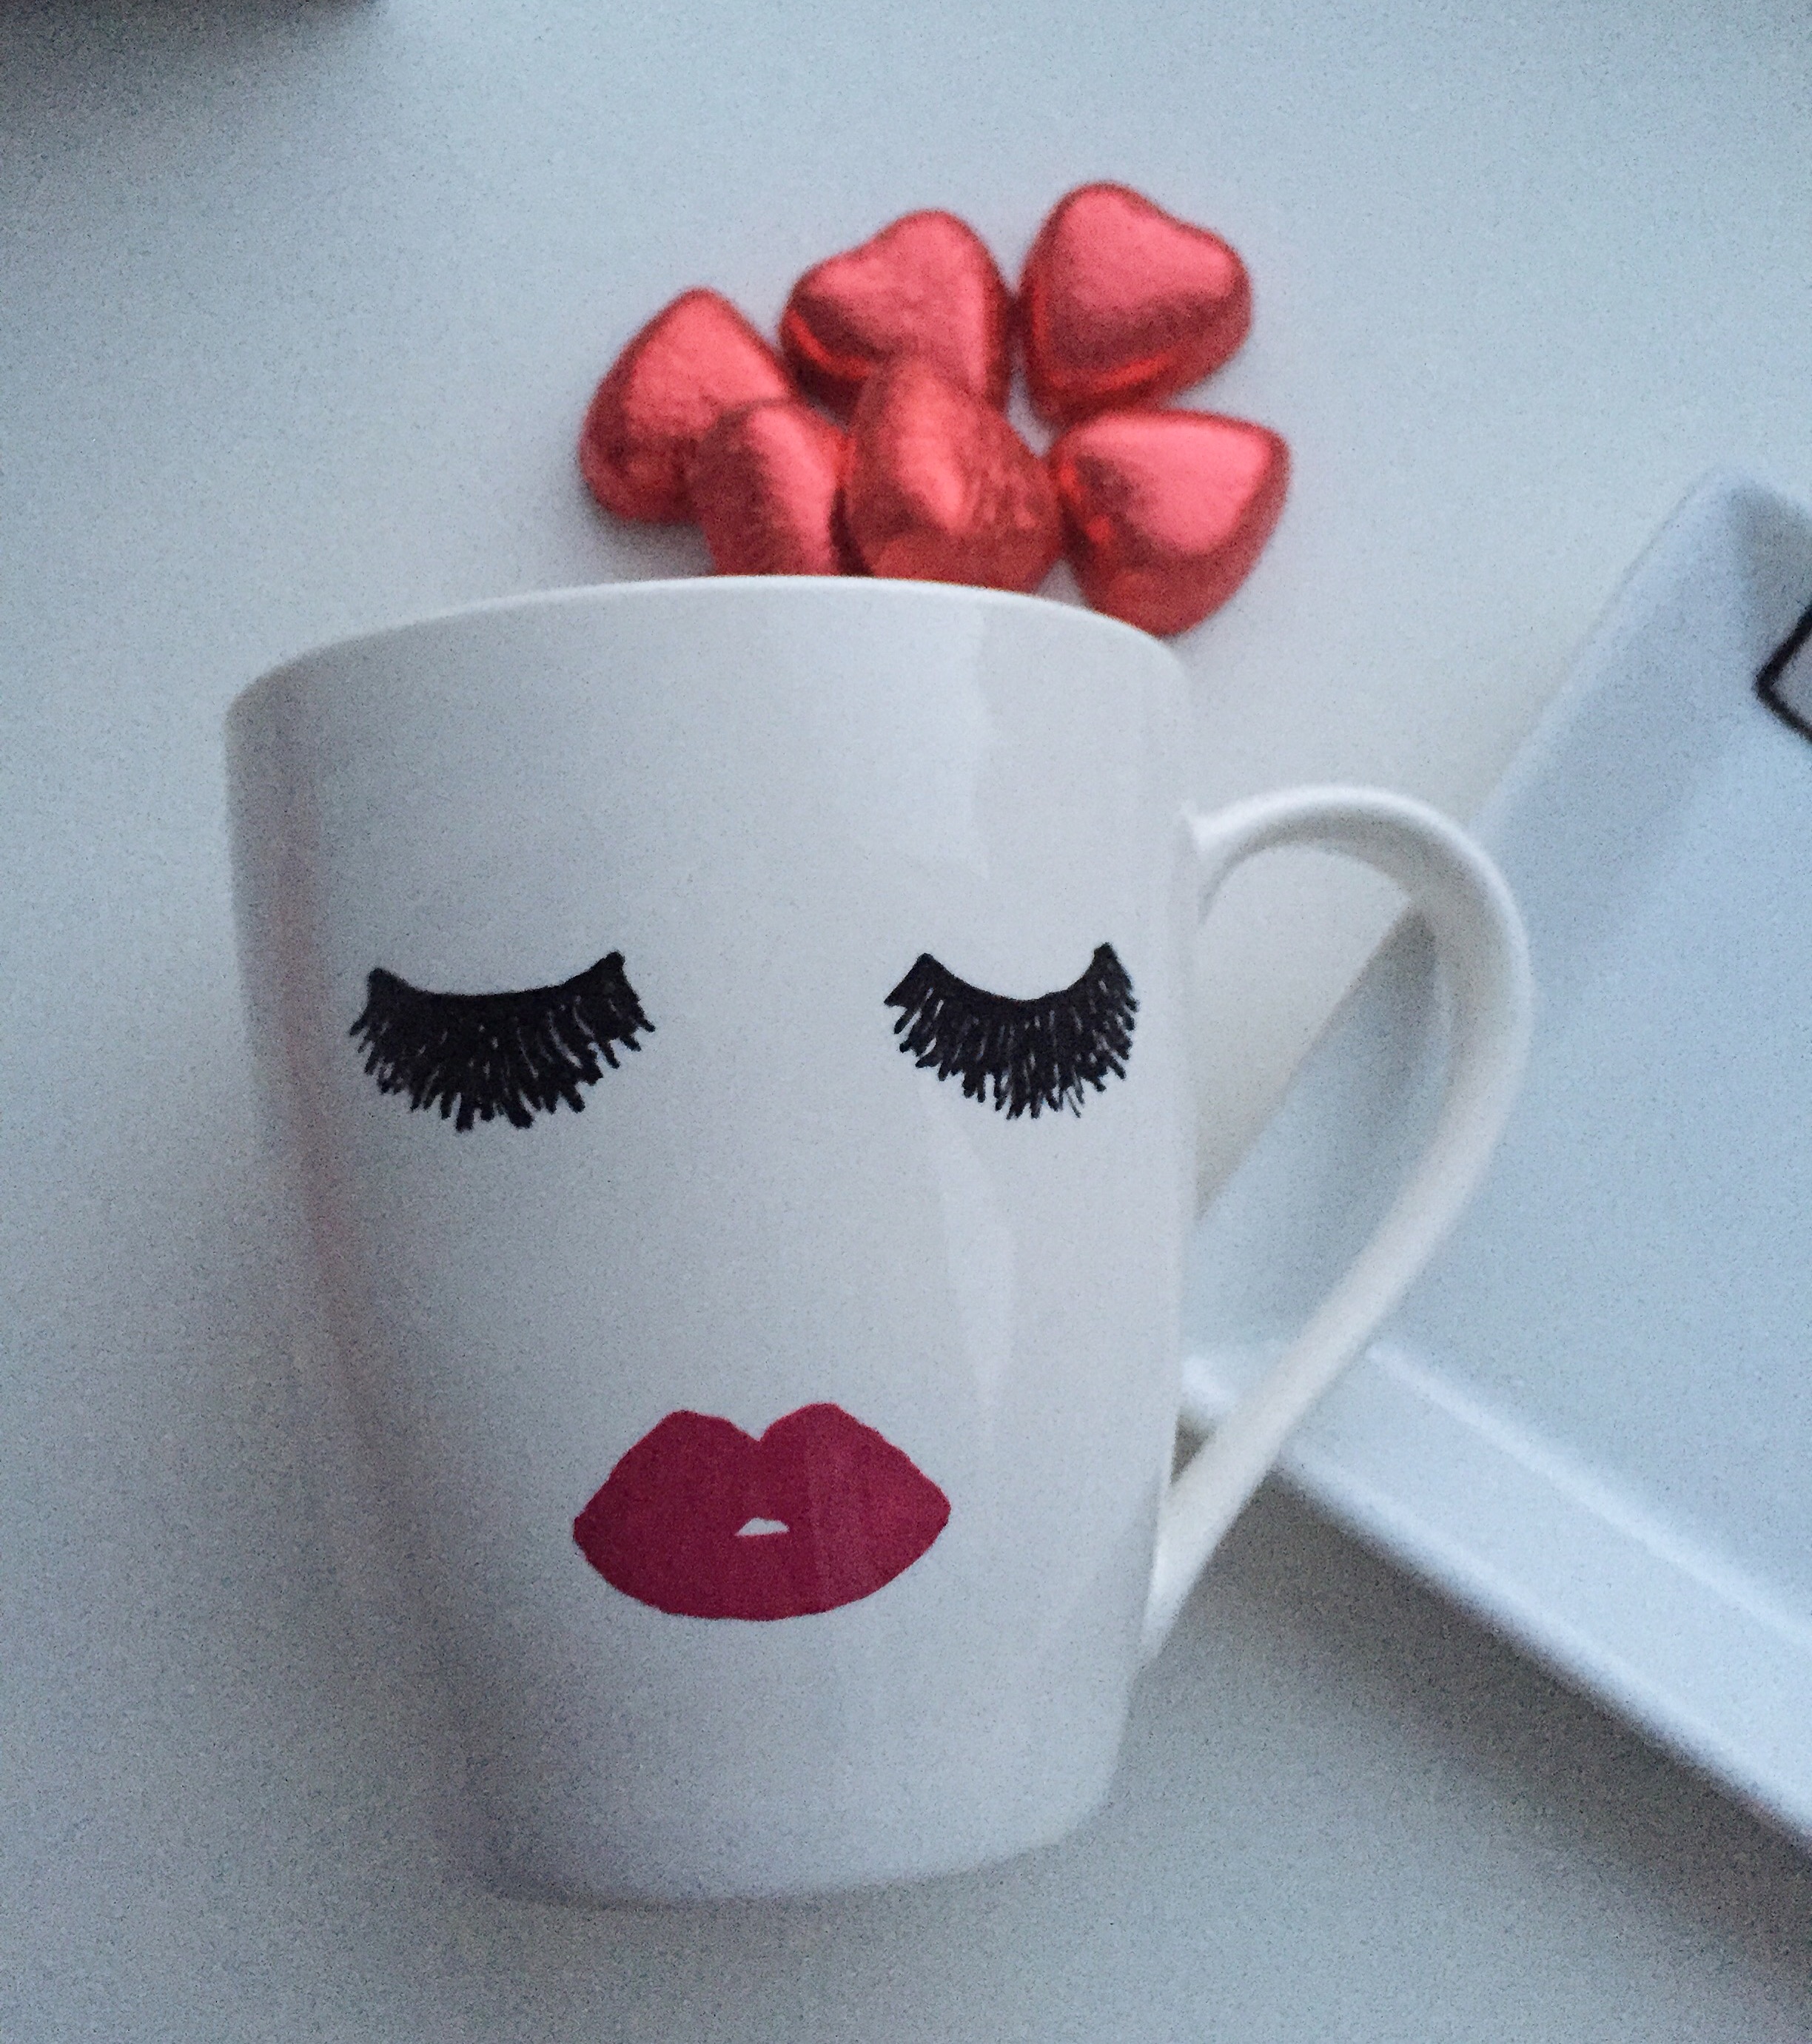
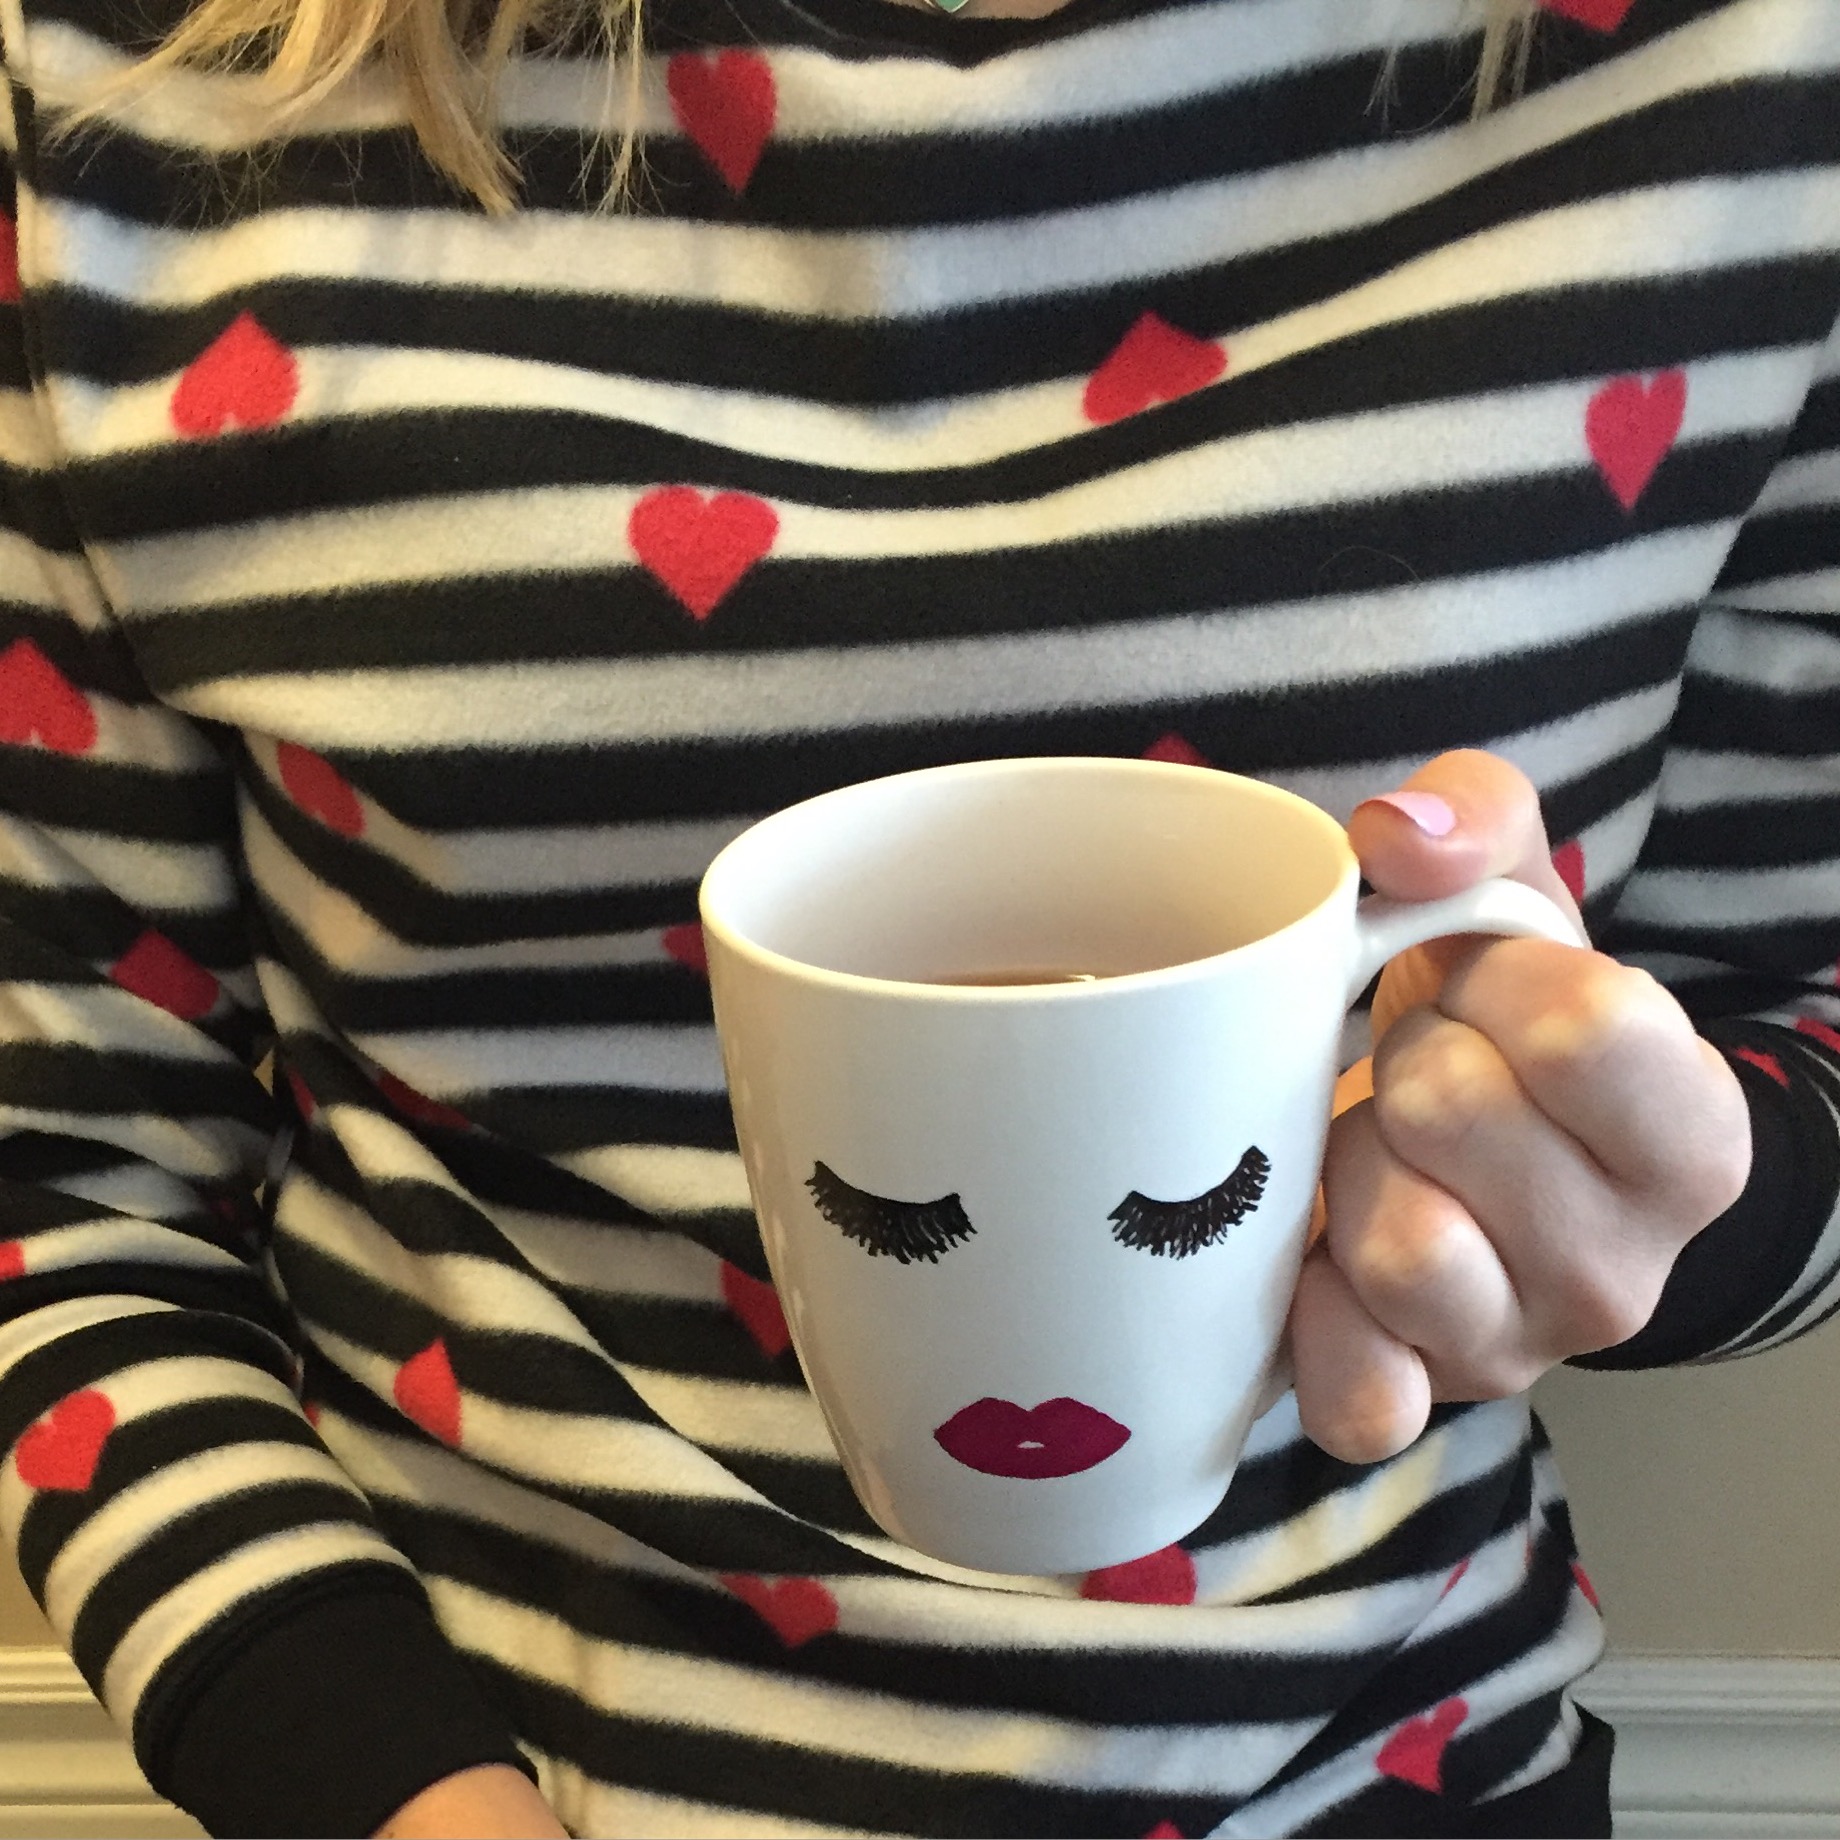
This design was a little more free-hand. I pretty much just found an image I liked and went with that. I used a piece of tape straight across so that the eyelashes were at the same level and length. I used a black Sharpie for the eyelashes and just free-handed the lashes and used a red Sharpie for the lips, also free-handing. Just when I thought the gold heart mug was my favourite, I see the end product of this one and now I can’t decide!

IMG_6338

Love-Letter Catch-All Dish:

  • I just love catch-all dishes, so when I found this dish at Dollarama for $3.00 I knew exactly what I would do with it!
  • I had seen love-letters and envelope designs on catch-all dishes from West-Elm sold for over $20.00 and thought I could easily make my own for under $5.00 (and so I did!)

IMG_6333

  • Using a couple pieces of Scotch tape helped me make the sharp straight lines that I filled in with a black Sharpie and finished off with a free-handed small red heart.
  • This tray is definitely multipurpose, I decided to use this dish as a serving dish for my Valentine’s Day desserts. I didn’t spray my mugs or dishes with any coating and the markers are non-toxic so they are okay to eat off of! 🙂

IMG_6328


IMG_6440

Enjoy your DIY mugs and catch-all dishes!

xoxo Staffordable

Baby Blues + Her Majesty’s Pleasure Review

Baby Blues + Her Majesty’s Pleasure Review

When I saw this jacket on sale at Forever 21 I instantly fell in love with the soft material and beautiful baby blue shade! It isn’t a very warm coat but it’s a great coat for a girl’s day or night out if you want to have something different than an all-black coat.

I did in fact wear this for a girl’s day out! My friend and I checked out Her Majesty’s Pleasure in the heart of King West Village in Toronto and were treated to a wonderful manicure! The place itself was absolutely stunning with a vibrant atmosphere, I could have stayed in there all day and it was the best manicure I’ve ever had! There is a full-service bar so you can sip on drinks while being pampered, talk about feeling like a queen!  I’ll post some pictures below of the inside of Her Majesty’s Pleasure along with the polish we decided on! 🙂

FullSizeRender (7)IMG_4824

Necklace- J-crew Factory Outlet!

Here’s a look at the inside of the beautiful Her Majesty’s Pleasure! This wall was EVERYTHING and deserved to be photographed. Now if only it was in my house!!!

FullSizeRender (20)

FullSizeRender (25)

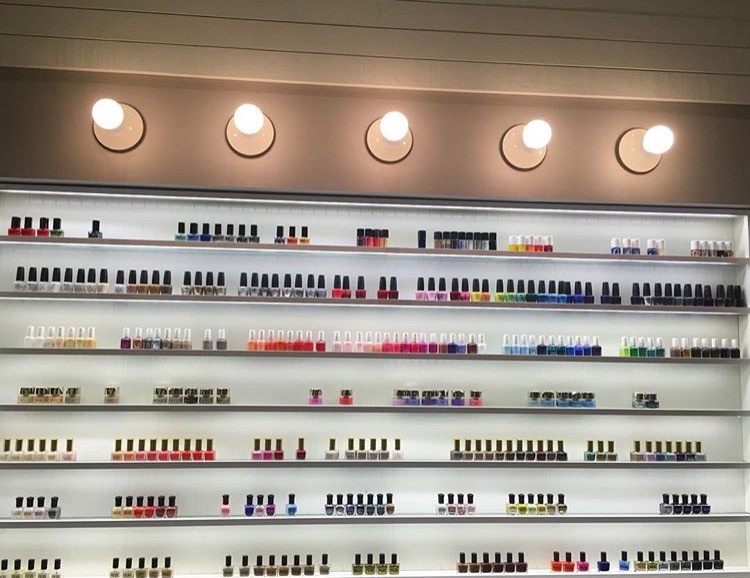
Now I couldn’t not take a picture of this wall of manicures!

FullSizeRender (19)

I even got busted snapping the photo by my friend!

FullSizeRender (21)

We both opted for shades of purple from Smith & Cults nail polish line. I had never used the brand before and absolutely loved it and the shade!

Her Majesty’s Pleasure was Voted Best Salon Design and Top 10 Global Interior Design by Azure Magazine

Take a peak at the full spa menu below (we opted for the ultimate manicure on our visit):

FOR YOUR HANDS

FOR YOUR FACE

FOR YOUR EYES

FOR YOUR FEET

FOR YOUR HAIR

BODY

HAIR REMOVAL

Such a great experience! This was such a thoughtful and personal gift my friend gave to me and it a great way to spend a girl’s day!

xoxo Staffordable

A PLACE FOR EVERYTHING & EVERYTHING IN ITS PLACE: CLOSET CLEAN-OUT 101

A PLACE FOR EVERYTHING & EVERYTHING IN ITS PLACE: CLOSET CLEAN-OUT 101

Spring is already in full-force but I just recently did a massive Spring clean-out of my closet. There’s nothing better than finally getting around to cleaning out your closet and organizing. I always find that I am less stressed if I’m living in a area that is clutter free and neatly organized.

image

A place for everything and everything in its place!

Here are a few of the tricks I use when tackling the dreaded closet clean: 

  • Does this fit?”- sometimes it can be a tedious task to take items out and try them all but if you’re going to commit to cleaning you’ve got to do this step. Otherwise, you will find yourself putting it back in the closet and coming back to it the next time you clean.
  • Have I worn this item in the last 12 months?” – Now, if you’re anything like me and have a lot of clothes, the answer to this question is almost always no. I tend to keep two separate closets, one for winter/fall clothes and one for spring/summer. By doing this I can make sure I get good use out of my seasonal items, some things like tanks you will always find yourself using no matter what the season is, since you can throw a sweater or jacket over top. If I have to really question when I actually wore the article last I toss it! I always have the urge to keep things and think that I will find a use from them one day, but the reality is my closet was overflowing and un-used items were building up fast!
  • Will I ever wear this again?“- We all have those articles that we just had to have and probably thought it was so cool at the time. Or, perhaps it was a fancy dress you bought for a wedding or a party that you will never wear again. This is a tough one, but think hard about whether your style has changed and if you could really see yourself ever wearing it again or if it was just that one-time item sort of thing. My style is constantly changing and sometimes I question the items I’ve bought in the past. I also don’t tend to stick to any one style in particular, but we all go through our phases. My closet was getting filled with parts of costumes, etc., so instead of keeping these in my closet I started up a costume box for anything I really couldn’t part with and think I could definitely use again.
  • Is it damaged in any way?“- I currently have a few items that need a quick stitch and you know what, they’ve been sitting in a bag in my closet for a year (what does that tell you??) If I don’t make the effort to get something fixed right away, do I really need to be keeping it, clearly I’m not missing it!!
  • If I was shopping right now, would I buy this?” – This is a huge one for me. Again, going back to my style constantly evolving this is a tough question for me sometimes. I think, okay, this would be great for the beach, or this would be great for a party. If I can’t find an occasion to wear the item I put it in my pile for donating.

This may seem like a lot of work to go through to organize your closet, but it really does pay off in the end.

Last but not least, a couple of my all-time favourite closet organization tricks:

  • Colour coordination is a must!!! (I know exactly where that hot-pink tank is, or that skull-print sweater is)
  • Keep your pants and dresses separate. I am lucky enough to have a separate closet for these but if you don’t, try using a different part of your closet to hang these in their own area so that they aren’t mixed up with your tops!
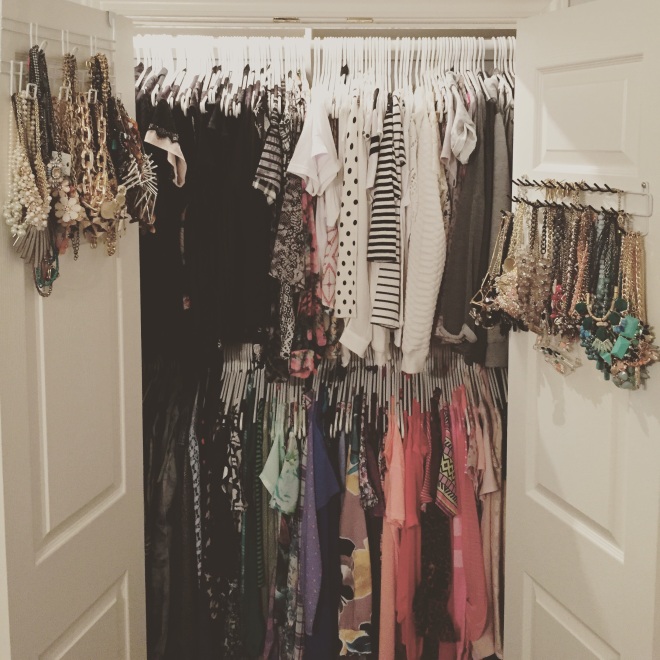
  • Double-up on hangers. If I were to put one item per hanger I would be keeping the hanger companies in business even more than I already do. If I have an thin-strappy orange coloured tank, I will hang it on the same hanger as an orange coloured top. It saves you hangers, and space!
  • Keep the bulky sweaters in a drawer. If you have a wardrobe USE IT! Not only does hanging up bulky sweaters suck up a ton of space it can also damage the shoulders in a lot of sweaters (speaking from experience)
  • When I buy a new item, I try to donate at least 2 items. This rule is crucial if you’re a shopoholic like me. If you aren’t getting rid of anything and new items are always arriving in your closet you will find yourself overwhelmed and running out of space quickly!
  • Use all the same hangers. I get just plain white hangers from the Dollarstore, they’re cheap and I like the consistent look of them all being the same. Also, make sure you have them all hanging in the same direction!
  • Hang up racks in your closet if you have any large statement necklaces. For me, this was a huge must-have. I like to be able to see all my jewellery and this was a perfect way to do that and have it look good at the same time!
  • Sufficient lighting. If you don’t have a light built-in to your closet, try having a lamp close by. It really helps to be able to see your clothes in the right light so you know that that black blouse is actually black and not navy blue!
  • Try keeping any shelving and the bottom of your closet clean of junk. We all have a habit of throwing stuff onto the shelves or floors in our closet. For me, I have everything in little boxes or baskets all neatly tucked into my closet. This is the type of stuff for me that I have a hard time getting rid of (receipts, old school assignments, etc.) I find myself going through it quite frequently and purging.

I hope you enjoy my tips and that they’re helpful to you if you embark on a spring cleaning journey! I’d love to hear what any of your organization tips are, feel free to comment!

For more helpful hints, take a look at link below for an awesome Cosmopolitan article!

http://www.cosmopolitan.com/style-beauty/fashion/advice/a17905/8-clean-closet-style-reset/

xoxo,

Sara